Lakes and Rivers 101: First Open-Water Safety Steps for Parents and Kids
When heading to a lake or river this spring through autumn, what should your school-age child (aged 6-12) and you do to stay safe? Start with visibility, cold shock, life jackets and rules—it all matters.
Groundwork: Know What You’re Dealing With
Visibility, Weeds, Currents and Drop-offs
Open inland waters usually don’t have crystal clarity. Murky water can hide sharp rocks, logs or sudden depth changes. Even a lake that looks calm may drop off steeply—not unlike a deep pool—but without markings. Rivers are riskier: currents under the surface can pull even strong swimmers, especially near bends or where flow speeds up after rain.(nps.gov) Floating weeds, submerged vegetation, or tree roots can snag legs or arms and alarm kids. Also beware of cold shock: entering cold water suddenly can cause gasping, breathing difficulty and cramps—even in warm weather.(gov.uk)
Entry and Exit Plans
Always plan how to get in and out. Slippery rocks, algae-coated piers and unstable banks are all easy ways to twist an ankle or worse. Encourage children to go feet first into unknown water. Inspect the landing before allowing jumps or dives. Knowing how deep it is matters: never assume shallow means safe. A lot of drownings and injuries start with misjudged depth.(lake.com)
Teaching Kids Core Skills
Float, Signal and Stay within Buoys
A great foundational skill is learning to float—and with kids 6-12, practice floating on back, relaxing, controlling breathing. From that position they can signal for help or rest comfortably. Use a buoyed swim area: markers or ropes set where water depth is safe help children learn limits, stay visible, and avoid hazards. Parents can bring bright swim caps and whistles so children remain seen and heard even in larger lakes.
Swim Lessons and the 10-Week Plan
Strong swim lessons dramatically reduce risk. Enrolling your child in structured programs equips them with water competency. For families ready to practice more, the swimy.org 10-Week Plan helps parents teach their child to swim by themselves, building skills gradually in a pool then moving to open water. (You can find that plan here: https://www.swimy.org/10-week-plan)
Parent Primer: Rules, Gear, Rescue
Region-Specific Rules You Should Know
In the US, designated beaches often have lifeguards, ropes or flags marking safe zones, and water quality warnings published by health or parks departments. In the UK, sites designated as bathing waters have regular pollution checks, and rivers may be off-limits near weirs, bridges, or locks. In Australia, many open water swim event rules (such as those by Swimming Australia) require minimum water temperatures, approved swimwear lengths, and proof that the venue meets safety standards. Always check for local signage, bylaw restrictions, tide or flow conditions.(nationalwatersafety.org.uk)
[[ctakid]]
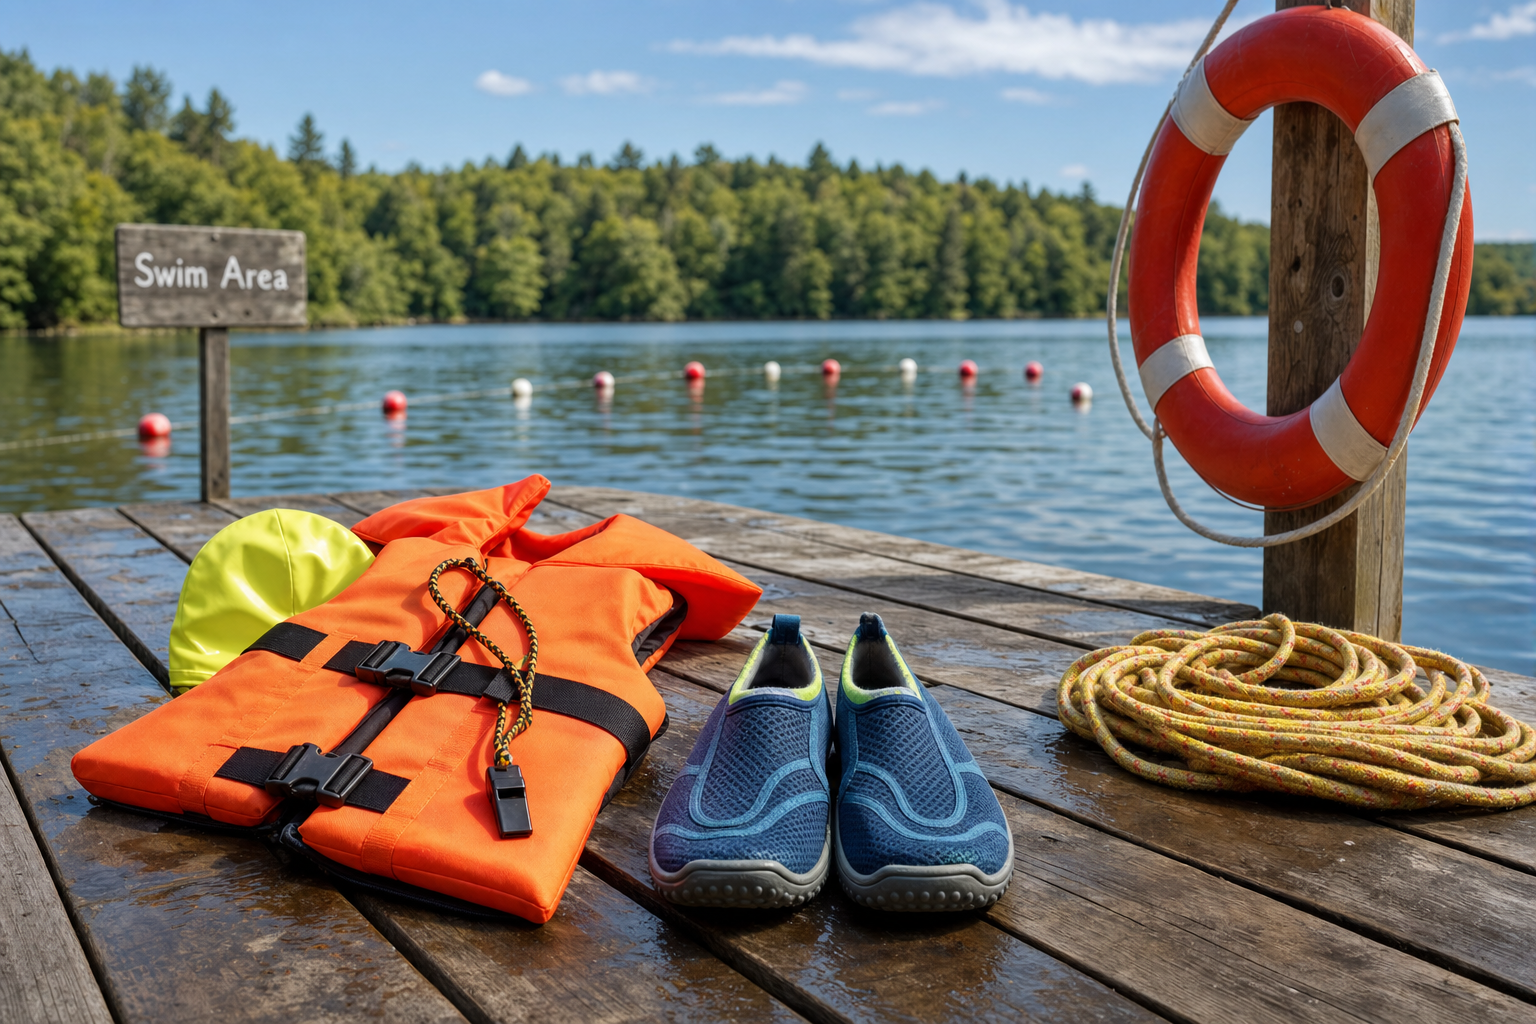
Gear You Must Pack
A properly fitted life jacket matters—US Coast Guard approved in the US, certified lifejacket or buoyancy aid in the UK and AU. Even if the child swims well, currents, fatigue and cold make life jackets essential near moving water. Bright swim caps stand out much better than blue or dark suits in low visibility; add a whistle in case voice fails. Good water shoes protect against sharp or slippery surfaces and drop-offs. Deep early spring or mountain lakes may require a wetsuit to prevent cold shock.(nationalwatersafety.org.uk)
Rescue Skills Without Entering the Water
Kids should never try hero dives. Teach them and you to use the Reach-Throw-Don’t-Go method: reach from shore with a pole or towel, throw floatation, row out in a craft only if trained, and only enter the water (‘Go’) if you're fully trained.(waterwisekids.com) Demonstrate to your child how to ask for help, call emergency services (911 in US; 999/112 in UK; 000 in Australia), and recognize signs of distress—unsplashing, reaching forward, unable to call out, head at odd angle.
Avoid Bright Pitfalls: Cold Shock, Slippery Rocks, Poor Visibility
Cold shock: even in warm air, the water may be much colder especially early or late in the season. Let children enter gradually; avoid diving headfirst into cold water. Slippery surfaces are everywhere—rocks, docks, or banks muddy from river flow. Teach your child not to run, and stay cautious when entering or exiting. Poor visibility doesn’t just hide hazards—it impedes rescue and makes it harder to see child far from shore. Bright gear helps, keep child close, within buoyed area, and always supervise without distraction.
Putting It All Together into a Day Out
Start with checking local forecasts and water quality advisories. Choose a designated swim area with visible boundaries and managed depth. Pack life jackets, bright caps, whistles, water shoes, possibly wetsuits for cooler waters. Once there, set clear rules with your child: stay within the buoys, float first if frightened, use signal if tired. Turn supervision into a rotating “water watcher” role so someone is always watching without distraction. Practice rescue-without-entry: reach and throw drills—use sticks, ropes, floatation devices—in calm settings so kids learn what to do ahead of emergency.
By following these focus areas—visibility and hazards, float and signal skills, region rules and proper rescue tactics—you’ll turn first open-water steps into confident, safer memories. Swimming with kids in lakes and rivers can be peaceful and joyous when safety anchors the fun.
120+ swimming exercises sorted by age — with video and instructions. Developed by swim instructors, completely free.

120+ swimming exercises sorted by age — with video and instructions. Developed by swim instructors, completely free.