Single-Arm Freestyle: Easier Breathing for Kids Ages 6–10
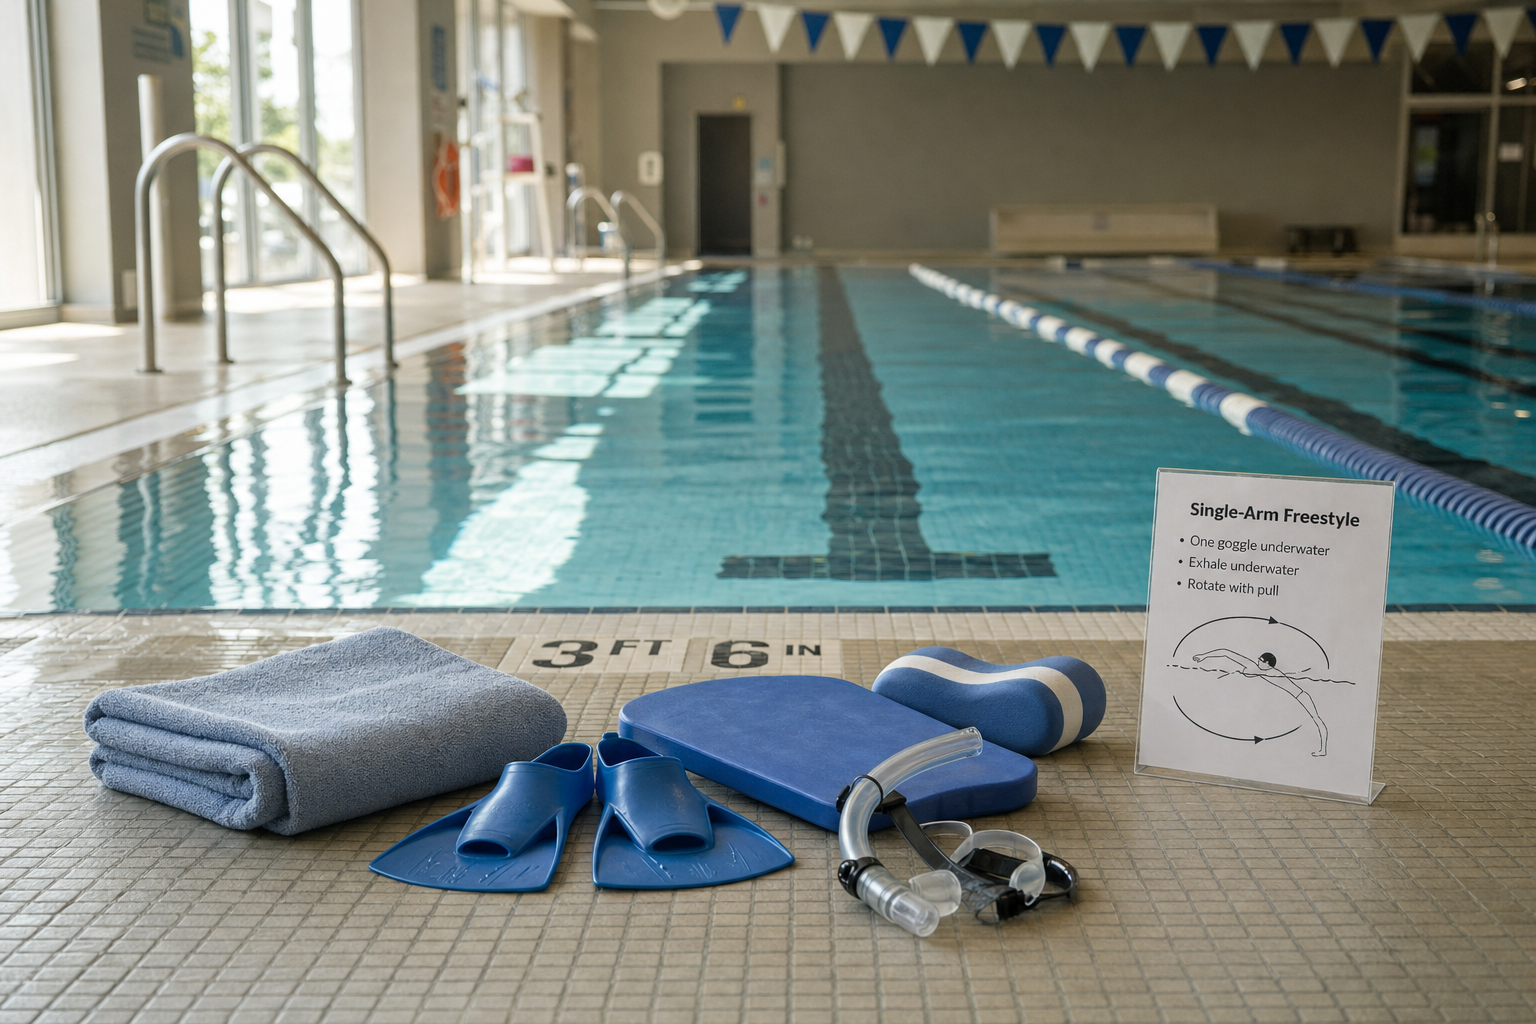
What single-arm freestyle drill does for kids
When children ages six to ten try freestyle, they often struggle with breathing, coordinating their body rotation, and keeping their head and hips steady. The single-arm freestyle drill fixes a lot of this in one go. By having one arm rest (either at the side or extended forward), it reduces how much kids have to think about—less coordination load. This frees up their energy to notice body rotation and time their side breath properly. As that rotating motion becomes more natural, breathing to the side feels easier and cleaner.
How parents can set it up safely and effectively
Safety matters. Use a shallow lane so your child feels secure and you can directly supervise. No breath-holding for long periods—make sure your child exhales underwater continuously so they’re ready for the inhale. Then guide them step by step:
- Choose which arm will do the work (“stroking arm”) and decide whether the non-stroking arm is resting by the side or extended forward for balance. (swimmersbest.com)
- Begin with a steady kick and body flat. Encourage eyes down so head stays still. Kick hard enough that the front of the body floats and the hips stay high. (support.formswim.com)
- On the stroke-side, pull with the elbow high and hand entering just in front of the shoulder rather than crossing over. The pull should go back past the hip. (usms.org)
- Rotate the body with the stroke so that when that arm pulls, the shoulder and hip on that side come up enough to let the child turn their head just to the side—not lifting it up. One goggle stays underwater; one pops out. Then quickly return the face to the water and resume the flat posture. (support.myswimpro.com)
These steps let parents spot when the head lifts or the breath is held too long, both of which mess up balance and slow progress. Coaches often look for hip drop or scissor kicks (legs drifting wide) when breathing is out of sync. (nassaucountyswimschool.com)
Common variations and when to use them
If the non-stroking arm is extended forward, it gives extra support and slows things down—this is great when your child is just starting to feel comfortable breathing. When that feels okay, try the more advanced version with the non-stroking arm resting at the side. This demands more rotation and timing. (usms.org)
If you want a structured way to help your child progress at home, the 10-Week Plan guides you step by step.
Breath timing is crucial. Coaches encourage taking a quick inhale right at the end of the pull, returning the head immediately, and then rotating for the next stroke. Use cues like “ride the rotation,” “one goggle stays underwater,” or “chin near shoulder” instead of negatives like “don’t lift your head.” (swimy.org)
[[ctakid]]
You can build this into a regular home or lesson practice using a gradual stopping pattern—a structured progression. One great resource helping many parents is the 10-Week Plan of swimy.org which guides breathing drills, side-kick work, and alignment in manageable steps. (swimy.org)
What mistakes to avoid
Kids often make three main breathing timing errors. First, they hold their breath underwater too long and then turn their heads sharply or lift it high to get air. That drops their hips, slows kick, and causes imbalance. Second, they lift forward or look ahead, thinking there’s more air—but that wrecks streamline and weight distribution. Third, they cross over on arm entry (entry past mid-line) which leads to uneven strokes and shoulder stress. (nassaucountyswimschool.com)
Other pitfalls include: the non-stroking arm flopping down (losing balance), scissor kicks (legs drifting apart), and trying to breathe every stroke too early. It’s better to build confidence on one side first, then gradually teach breathing on both sides (bilateral breathing). Pushing bilateral too soon often causes problems. (swimy.org)
Training tips for progress and staying encouraged
Practice should be short, frequent, and safe. Use shallow water, lots of breaks, and close supervision. Two to three practice sessions per week often show improvement within 2-4 weeks: calmer breaths, less kicking-stop, smoother roll. (swimy.org)
Use simple rhythm drills. For example, count kicks between breaths (“kick-kick-kick-breathe”) so the child expects when to breathe, rather than gasping and messing up the stroke. Use side-kick drills and single-arm freestyle on their comfort side first. Once they're steady, alternate breathing sides. (swimy.org)
Use cues that build the right feel: “quiet head,” “roll, not lift,” “ear down,” “one goggle underwater.” Watch for signs: splash over the ear (lifted head), weak kick when breathing, crossed arms—a cue to step back in variation until they rebuild control. (swimy.org)
When single-arm freestyle is done correctly, it gives young swimmers ages 6-10 a chance to really feel their body rotate, to understand where and when to breathe, and to swim forward instead of bobbing. With safety, patient coaching, and smart progressions, your child can move from uncertain side breaths to confident, efficient freestyle.
120+ swimming exercises sorted by age — with video and instructions. Developed by swim instructors, completely free.

120+ swimming exercises sorted by age — with video and instructions. Developed by swim instructors, completely free.