Find Your Child’s Best Freestyle Breathing Side in 10 Minutes
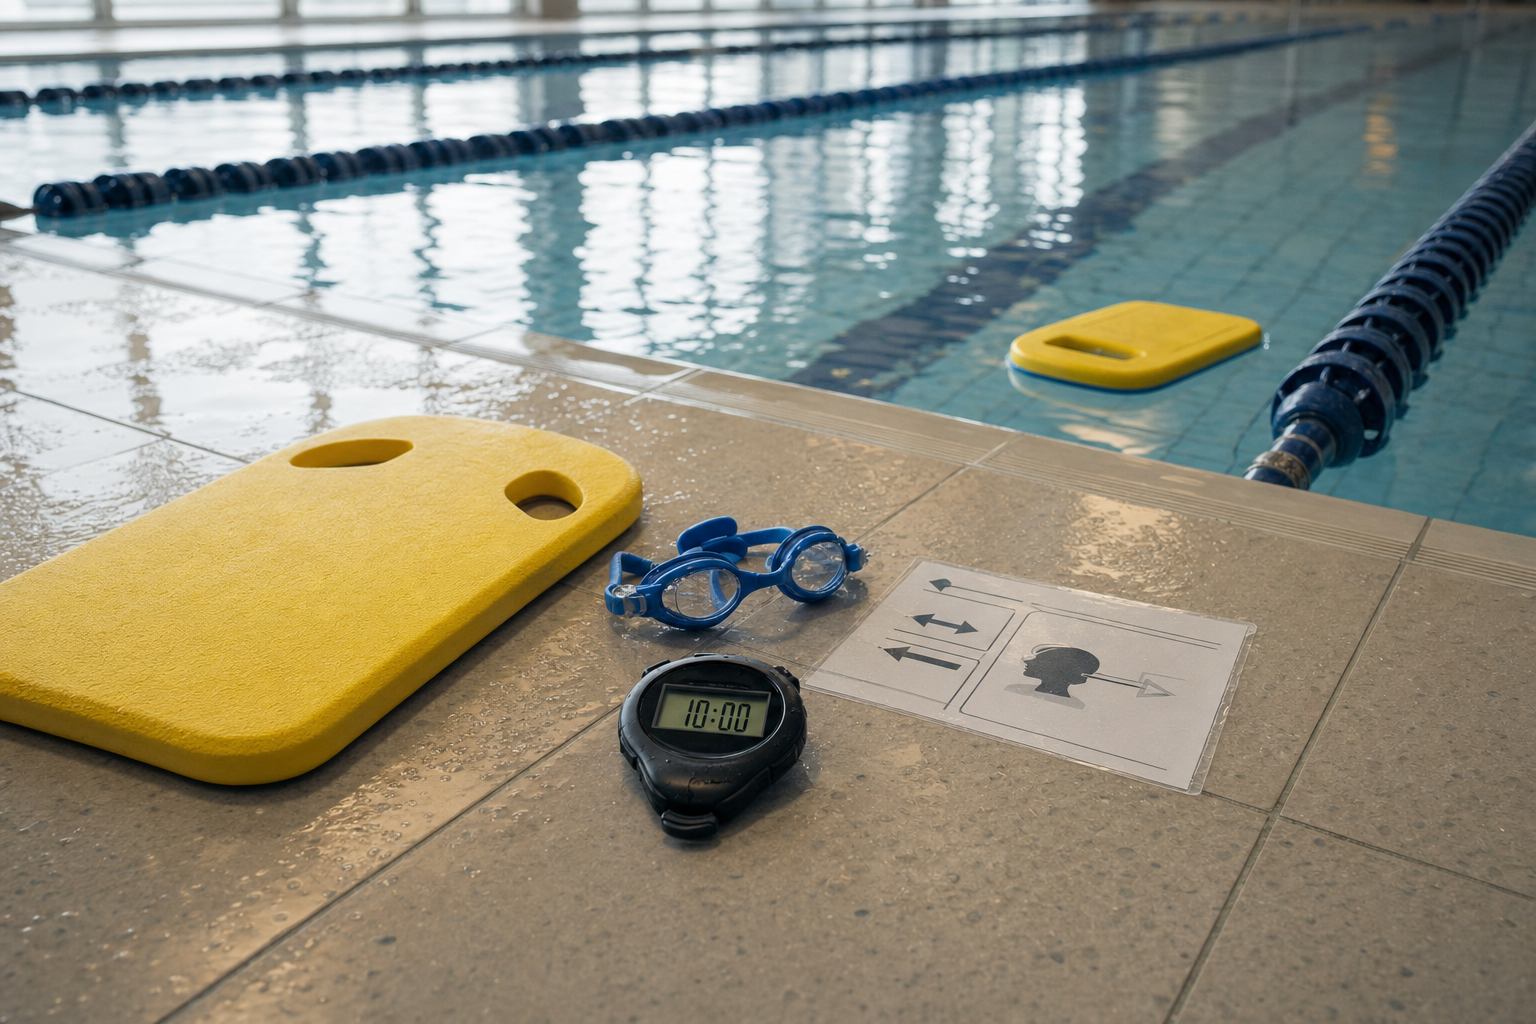
Want to know which side your 6- to 12-year-old should breathe freestyle on first? Here’s a quick 10-minute way to test which side gives them better balance, so you can let them gain confidence on their preferred side, then build bilateral skill gradually.
Why start with one side first?
When children force bilateral breathing too early, it can lead to head-lift, uneven rotation, and burnout. It’s perfectly fine—and even helpful—for a child to have a “comfort side” to breathe freestyle while they’re mastering body roll, rhythm, and balance. Once they’ve nailed those fundamentals, you can use bilateral breathing so they’re equally strong and balanced on both sides. Coaching experts warn that forcing a pattern like every-third stroke from the start can overload a young swimmer and trigger crossover kicks or scissor kicks instead of a clean flutter kick.(swimy.org)
Quick test: Find the better breathing side in 10 minutes
You’ll need a timer, pool-edge, and calm water. Follow these steps, aim for only about 10 minutes; keep rest breaks frequent; no extended underwater breath-holds.
Step 1: Pool-edge roll & breath (2 minutes)
Have your child stand sideways at the pool wall, hands holding the edge. Ask them to put their face in and blow bubbles, then rotate their head to one side, take a breath, resume face down. Alternate sides. Watch which side feels easier: fewer splashes, more relaxed head position, less hip drop. That’s probably their preferred breathing side.
Step 2: Side-kick drill (3 minutes)
Next, with a kickboard or holding the pool edge, let them kick on their side with one arm extended forward and the other resting. They should kick and breathe only on the side you're testing. Do one side for a short distance, rest, then swap. Notice which side gives better balance, stronger kicks, smoother body roll.
Step 3: Freestyle arms with breaths (3 minutes)
Now add full freestyle arms, swimming a short distance (say 10-15 meters) breathing only to one side. Focus on keeping the body flat, turn—not lifting the head—and continuous kick. Rest, then try breathing only to the other side. Compare stroke rhythm, energy, comfort.
If you want a structured way to help your child progress at home, the 10-Week Plan guides you step by step.
Step 4: Decide & reinforce (2 minutes)
Based on what you saw: which side gives smoother balance, stable hips, strong kick, easy breathing? That’s the side to start with for regular practice. Don’t force the other side yet; let your child build confidence, endurance, and steady technique on their dominant side.
[[ctakid]]
Transition into teaching bilateral breathing
Once your child can breathe comfortably to one side, you can weave in both-sides breathing. Build up with low-pressure drills and patterned breathing. For example, swim several lengths breathing always on the preferred side; then try “every-third stroke” breathing—right, then left, then right. This gradual shift helps avoid crossover kicks or scissoring when the non-preferred side feels weak.(parentcoachdesk.com)
One excellent structured way is using the 10-Week Plan offered by Swimy.org, which includes stages for freestyle breathing learn-modules, side-lying kick, rotation drills, and low-pressure freestyle patterns. Make sure you click into the 10-Week Plan link when you want full progression.(swimy.org)
In all drills, keep an eye out for the head lifting or pushing forward instead of rolling with the body. That’s usually a sign your child is working too hard to get air, or the body isn’t rotated enough. Encourage exhaling underwater; it makes the breath in side feel much easier.(kimswim.com.au)
Watch out for common pitfalls
Don’t rush into breathing every-third stroke until the child holds good body alignment on their comfort side. Forcing patterns too soon tends to cause crossover kicks or scissor kicks, as well as head lifting which breaks balance. Early bilateral work should be playful and low pressure—not rigid.(swimy.org)
Avoid letting the child breathe forward (lifting their head) which causes their hips to sag and slows them down. Also avoid very long underwater breath holds—these create tension, disrupt timing and safety. Frequent rest is essential.(kimswim.com.au)
What to reinforce as they progress
Once confident on the chosen side, build the non-preferred side with drills: side kicks, one-arm freestyle, “breathe to only the weak side” practice sets. Alternate which side they swim on regularly. As strength and coordination improve, introduce full bilateral patterns—every 3 strokes or every 5 strokes—gradually. Reward effort, smoothness, rotation. Kids thrive when they feel steady progress.(parentcoachdesk.com)
Always maintain safety: no long breath-holds, frequent rest, supportive supervision. With your guidance, your child will grow strong on their good side first, then become versatile and balanced on both. The result is freestyle that’s confident, efficient, and fun.
120+ swimming exercises sorted by age — with video and instructions. Developed by swim instructors, completely free.

120+ swimming exercises sorted by age — with video and instructions. Developed by swim instructors, completely free.