Label Baby Swim Gear Clearly: A Parent’s Guide
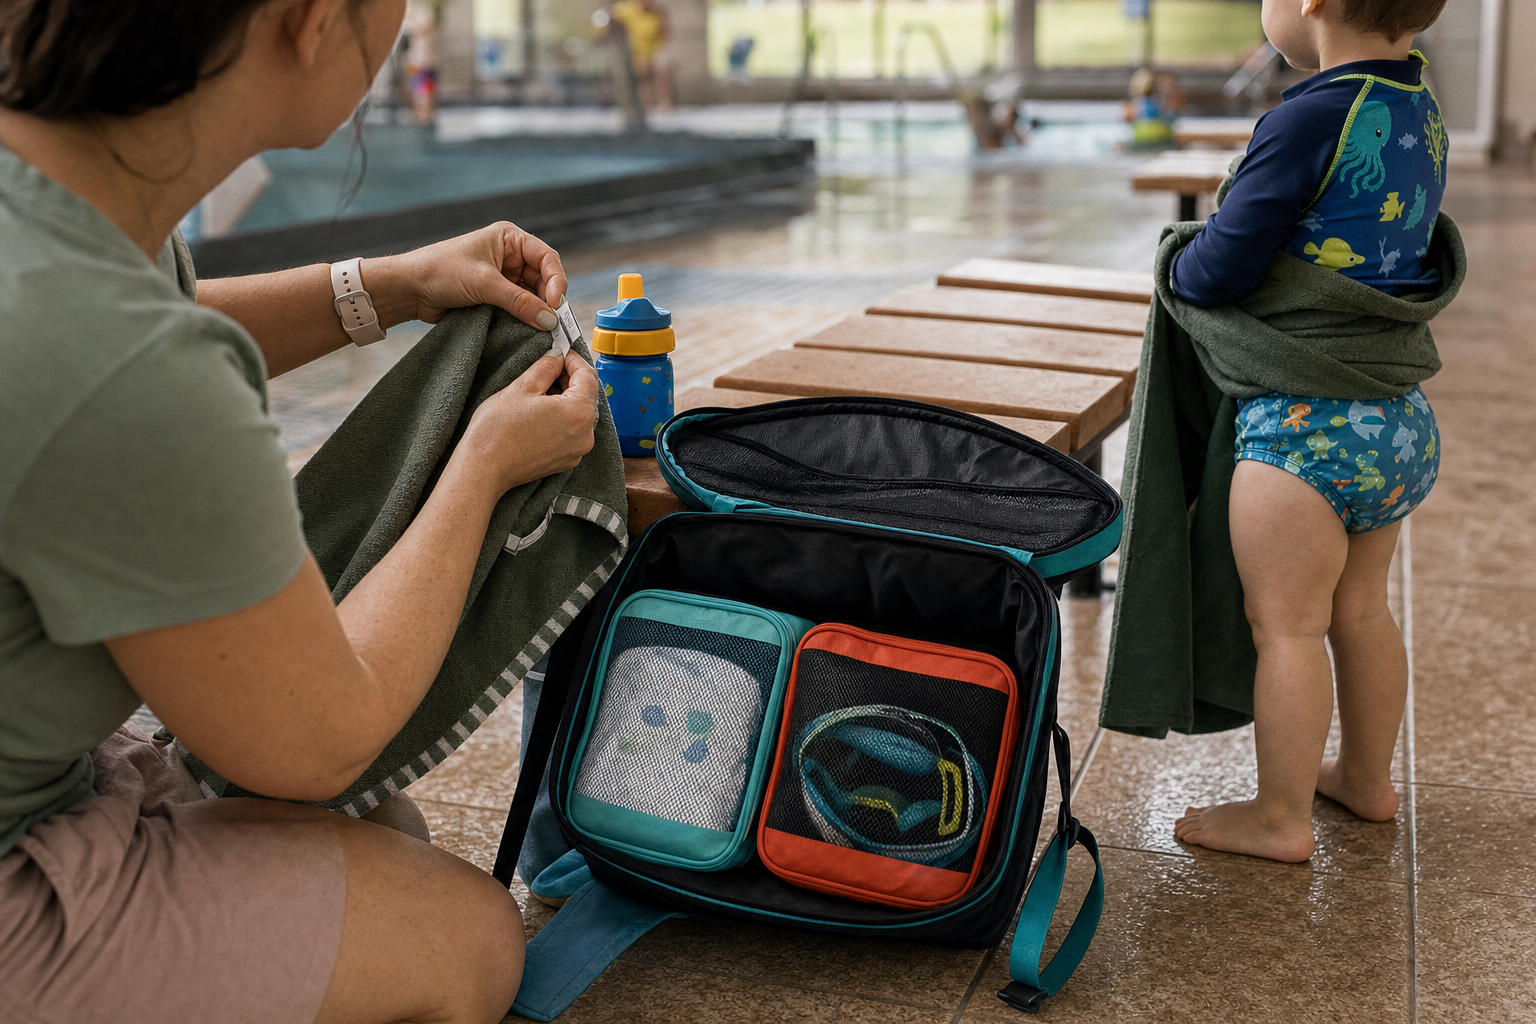
Quick tip: the best way to stop towels, bottles, wetsuits, and creams from walking off or ending up in the wrong basket is to use a reliable labeling system that works in wet environments. Baby swim gear labels done right mean parents don’t scramble to identify soggy towels or mixed-up nappies, especially when you have twins, shared changing rooms, or multiple daycare-to-swim days. Using the right labels keeps your baby in the right clean swim nappy every time—and saves you headache and laundry.
Why Clear Labeling Matters
In busy pool changing rooms, items get swapped or mixed at lightning speed. One simple but common mistake is labeling only the outside of a wet bag, forgetting that labels under moisture will peel off or get unreadable. Another is using dissolving paper or flimsy tags that disintegrate after a swim. Mix clean and used swim nappies in the same bag? That’s a recipe for mildew and germs. For ages 0-36 months, a clear system ensures the right clean items (towel, swimsuit, nappy) are accessible and safe, particularly when you're rushing between daycare, errands, and swim class.
What to Bring Baby Swim Class & How to Label Each Item
Here’s a clear rundown of what to pack and the best labeling method for each item to keep gear distinct, clean, and safe.
Towels and Wetsuits
You’ll want two towels: one for poolside and one spare. For wetsuits or rash guards, put a waterproof name label on the care tag or inside seam—never on an exposed surface babies might chew. Use iron-on or wash-rated stick-on fabric labels for clothing so they withstand chlorine, heat, and humid changing room floors. 🧼 These methods last through washes and dry-downs without becoming scratchy seams.
Swim & Regular Nappies
Babies under three should wear a double nappy system: a swim nappy plus a snug reusable or neoprene cover. After class, change into a regular dry nappy. Label each nappy bag or container—not just the outer bag—to avoid accidentally using the wrong one. Use a permanent marker or stick-on label on the clean side, separate from used ones. Most swim schools in the UK and AU require this double layer system for hygiene. (swimhappy.uk)
If you want a structured way to build water confidence at home, the 10-Week Plan guides you step by step.
Bottles, Creams, and Comfort Items
Water bottles, sunscreen tubes, creams—these go everywhere. Use waterproof name labels with hard surfaces. For bottles, label the lid and base so even if one part is removed, the identity remains. For comfort items—blankets, favorite toys—attach small soft-tag labels or label an inside corner that is not loose or chewable. Make sure the label material is non-toxic and cannot detach easily.
Building a Simple System That Works
- Choose label materials: waterproof PVC stickers, iron-ons, or woven fabric tags that say name + last initial. Avoid paper or flimsy tags.
- Match label type to surface: fabric items label via care tags, hard plastic items get adhesive labels, soft comfort items get sew-in or clip tags.
- Label spare items you leave at class or daycare separately—the spare set stored offsite often gets forgotten.
- Keep clean and used items separate: use different colored bags or dividers, and label “Clean” vs “Used.”
Around the middle weeks of a swim term, when routines settle, consider using the 10-Week Plan from swimy.org as a guide to adjust your labeling system. It helps you audit what items still get mixed up and where new labels might help. (That plan is a structured program to help you track habits and gear over ten weeks.)
[[ctababy]]
Safety & Practical Labeling Pitfalls
Labels should never pose choking hazards or irritate sensitive skin. Small tags, loose attachments, scratchy seams—they might seem harmless, but for babies under 36 months, regulations like the U.S. Consumer Product Safety Commission’s ban on small parts exist to prevent choking risks (cpsc.gov).
Avoid placing labels where babies can chew fabric tags or unzip covers themselves. Heat settings for iron-ons must be gentle—many fabrics used for swim gear are delicate. Adhesives must be non-toxic and rated for moisture and chlorine exposure, per standards used by specialized waterproof label producers (mynametags.com).
Quick Troubleshooting & Best Practices
If labels peel, rewrite using adhesive overlay flaps or seal with clear tape before first wash. If paper-based labels dissolve, switch to PVC or iron-ons. Always have backups: spare towels, an extra swim nappy, and a spare outfit (labeled) in your bag. Remember that both parents or carers should learn where and how labels are placed so gear is not mixed up when in different hands.
Final Word
A good labeling system for baby swim gear doesn’t have to be complex—it just needs to be consistent, safe, and matched to each item type. When everything from your towel to your wet bags to your comfort toy has a durable, waterproof identity, your baby gets what they need, you save time, and those frantic chase-downs in changing rooms vanish. Keep labels firm, surfaces clean, and gear separated (clean from used), and you’ll breeze through swim, daycare, or twin routines with far less stress.
120+ swimming exercises sorted by age — with video and instructions. Developed by swim instructors, completely free.

120+ swimming exercises sorted by age — with video and instructions. Developed by swim instructors, completely free.