Non-Sitting Baby Changing Routine for Swim Lessons: Safe, Secure, Stress-Free
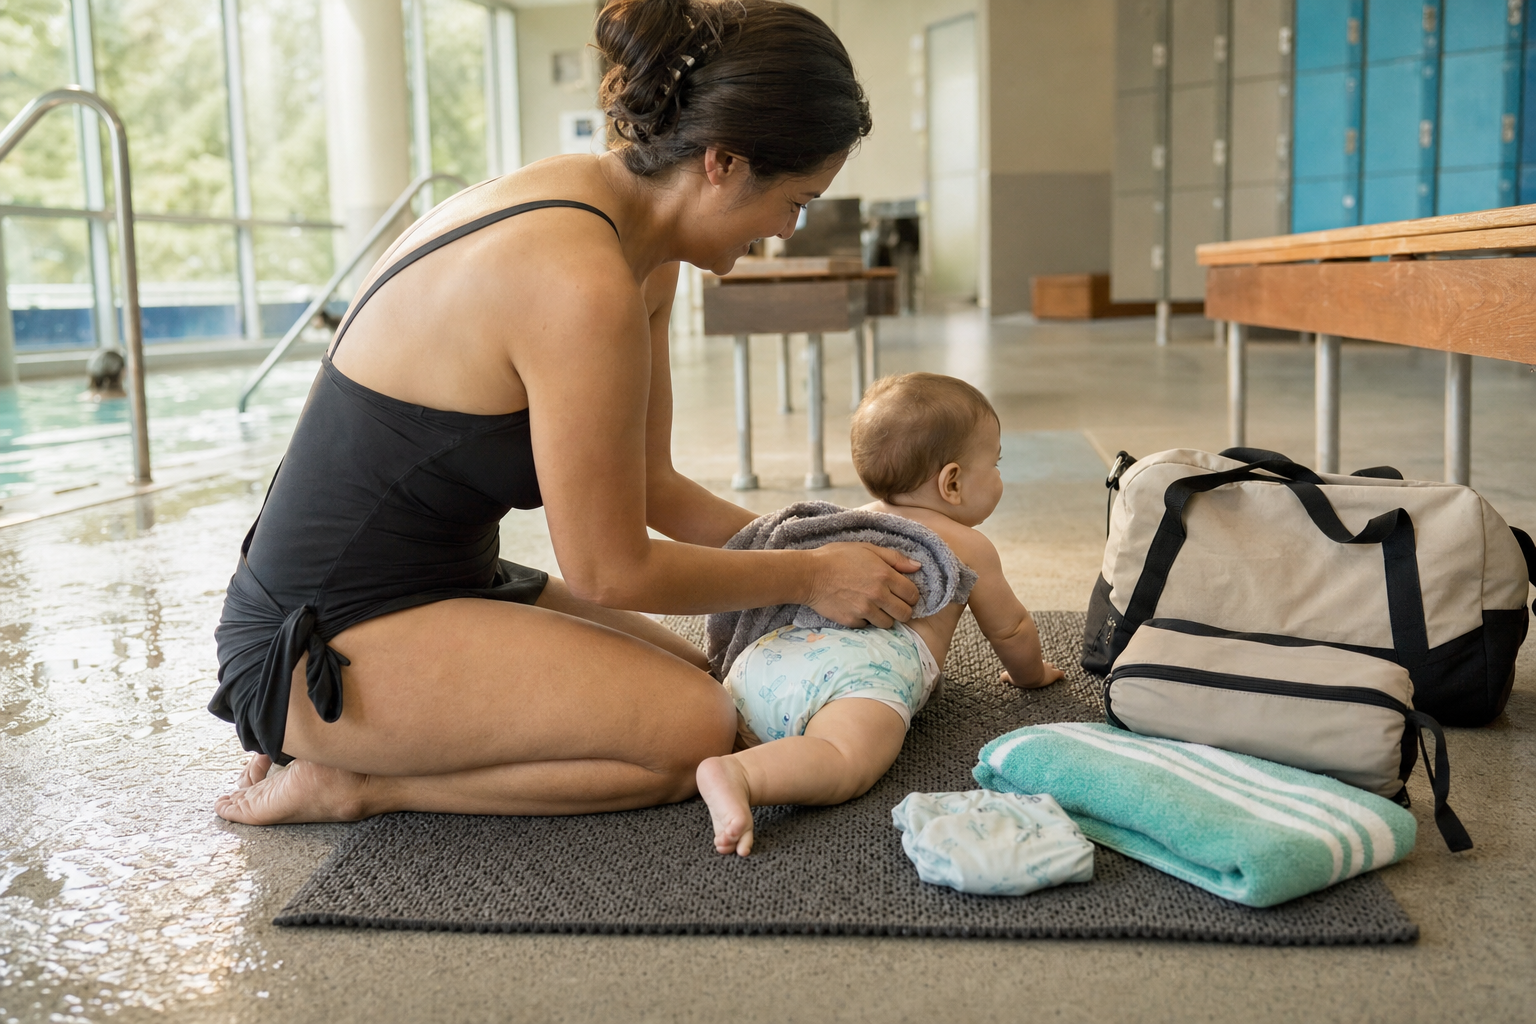
When your baby can’t sit yet—typically under 9 months—changing time at a baby swim changing room or during their first swim lesson with infant can feel like a juggling act. But it doesn’t have to. Follow this step-by-step routine that keeps your baby safe, everything you need within reach, and avoids risky surfaces.
Start With a Safer Sequence When Changing (0-9 Months)
First, wherever you are—pool changing room or at home—find or create a changing space at floor level if possible. If you must use a raised surface like a bench, car seat, or official changing table, the golden rule is: never leave baby unattended and always keep one hand on your baby until they’re safely dressed. Experts recommend using a changing pad or blanket on the floor for non-sitting infants: there’s zero risk of falling from height. (unicef.org)
On raised surfaces, many public changing tables come with guardrails or safety straps. Use them—but they aren’t enough on their own. You need to stay present, hands on baby. (babyproofme.com)
Here’s how to flow through the change safely:
- Lay down a clean change mat (floor or bench), have supplies arranged neatly beside you—not behind or across the room.
- Remove shoes, outer garments, the swimwear or dry diaper layer before placing baby on the pad.
- Change using secure, quick, confident motions.
- Redress underwater layers only after towel-drying baby when necessary.
- Once dry and dressed, hold baby securely while tidying up your area.
What to Pack Within Arm’s Reach
Logistics can get messy if you have to twist, stretch, or leave baby alone for supplies. For your first swim lesson with infant, this packing list is optimized for speed, safety, and comfort:
- A swim diaper (disposable or reusable), plus a regular diaper and spare outfit post-lesson. Facilities often require specific swim nappies. (baby.paddle-pals.com)
- Warm hooded towel or robe for wrapping baby immediately after exiting the water. (waterwisekids.com)
- A changing mat: compact, non-slip, portable. Choose one you can use on the floor for safer still changes. (shop.waterbabiesusa.com)
- Wet bag for damp swimwear and nappies. Spare towel. Small toy or distraction if baby becomes fussy. (baby.paddle-pals.com)
- Your own gear: spare clothes, flip-flops for changing room floor, swimsuit under clothes if needed.
If you want a structured way to build water confidence at home, the 10-Week Plan guides you step by step.
Arriving 10-15 minutes early helps you find the layout, view benches and surfaces, and settle in so you’re not rushing. (waterwisekids.com)
Around halfway through this routine, you might find it useful to plan lessons with a longer-term approach: swimy.org offers a 10-Week Plan to build confidence and skill across early lessons, helping you anticipate changing routines and timing needs. (avacswimschool.us)
[[ctababy]]
Avoid the Wrong Places—and Why
Putting your baby on a bench, car seat on a raised table, or floor that’s not clean or flat introduces risks. Baby seats and car seats should stay on the floor—not on raised surfaces where sliding or tipping is possible. (renaissance.stonybrookmedicine.edu)
Dirty, wet, or unstable surfaces—benches in changing rooms, poolside ledges—are unsafe. Surfaces with gaps, uneven slats, or sharp edges can trap fingers or allow slips. Anywhere you place your baby, make sure it’s flat, level, and you keep one hand on them. (productsafety.gov.au)
Expert Tips for Smooth Non-Sitting Changes
Changing a non-sitting baby takes more than just safety—it needs efficiency and calm. Try these tips from pediatric, hospital, and child safety sources:
Pediatric sources warn that many injuries come when caregivers reach for something without a hand on the child. Always keep one hand on baby. Organize supplies before you place them on the surface. (millerchildrens.memorialcare.org)
Choose change tables that meet safety standards: guardrails of about 2 inches, flat surface, stable base. If you see wobbling or rust, avoid using it. Also, a contoured pad slows rolling. (choice.com.au)
When baby starts to roll or twist—around 4-6 months—even if they can’t sit yet, elevated surfaces become riskier. Switch to floor changes or smaller, safer surfaces. (babyproofme.com)
Bringing It All Together
In a busy changing room or at your baby’s first swim lesson with infant, safety comes down to setup, surfaces, and supervision. Use a change mat on the floor when possible. If elevated, always keep one hand on your baby. Pack smart: swim diapers, spare clothes, towels, warm wrap, wet bag—all ready before you begin. Know the layout ahead of time by arriving early. And if the facilities allow, follow a structured plan like the 10-Week Plan to develop habits that make each change safer and smoother.
Getting comfortable with this routine might feel odd at first—especially using the floor. But you'll relax into it fast. Soon it will feel natural to be prepared, safe, and calm during every change, even in unfamiliar changing rooms or before your baby can sit. That’s real peace of mind.
120+ swimming exercises sorted by age — with video and instructions. Developed by swim instructors, completely free.

120+ swimming exercises sorted by age — with video and instructions. Developed by swim instructors, completely free.